Accidentally changing a critical formula or overwriting important data in Excel can cause major headaches, delays, or even costly mistakes. For anyone who works with complex spreadsheets, this risk is all too familiar.
Locking cells offers a powerful way to protect your data and maintain accuracy. It helps teams collaborate without fear of unintentional edits disrupting their work.
Professionals, students, and businesses all save time and reduce errors by learning this essential skill. Proper cell locking ensures your work stays consistent and secure.
This article provides a clear, updated step-by-step guide on how to locked cells in excel using the 2025 version. Whether you are new to cell protection or want to master advanced options, you will find practical solutions here.
You will learn the core concepts, follow detailed instructions, explore advanced techniques, troubleshoot common issues, and discover best practices to keep your spreadsheets safe.
Understanding Cell Locking in Excel
Have you ever worried about making one accidental change in an important Excel file? Understanding how to locked cells in excel is a crucial skill for anyone managing sensitive or collaborative workbooks. Cell locking is a foundational part of worksheet protection, designed to keep your data safe and organized.

What Does “Locking Cells” Mean?
In Excel, "locking cells" refers to marking specific cells so their contents cannot be changed when worksheet protection is enabled. By default, every cell in a new worksheet is set to be locked, but this only takes effect after you activate sheet protection. This distinction is vital: locking alone does nothing until protection is applied.
Many users confuse locking cells with protecting the worksheet itself. Locking is like tagging which areas should be guarded, while protection is the actual security system. Another common mix-up is between locking cells and hiding formulas. Locking prevents edits, whereas hiding formulas keeps sensitive calculations invisible from view, even if others can see the results.
There are several scenarios where knowing how to locked cells in excel is essential. For example, in a shared financial model, you might lock all calculation cells while leaving data entry fields open. In educational templates, teachers often lock grade formulas to prevent accidental changes by students.
Misconceptions can lead to frustration. Some believe locking cells stops all changes, but unless the worksheet is protected, anyone can still edit the data. Others think protection is all-or-nothing, but you can choose exactly which cells are locked or unlocked. For a comprehensive walkthrough on these concepts, see this Locking cells in Excel guide.
Why Lock Cells? Key Benefits and Use Cases
Why do so many professionals ask how to locked cells in excel? The main reason is to prevent accidental overwriting of critical data or formulas. When working in teams, especially on shared workbooks, cell locking enables safer collaboration. It ensures only intended areas are editable, maintaining consistency across financial reports, dashboards, and templates.
Protecting intellectual property is another major benefit. Distributing templates with locked calculation cells helps organizations safeguard proprietary methods. Common examples include locked financial statements, grade sheets, and project trackers, where only certain fields should be changed.
According to a 2023 Microsoft survey, over 60 percent of Excel users regularly manage shared files. That means the need for robust protection is higher than ever. By learning how to locked cells in excel, you can reduce errors, streamline teamwork, and ensure your data remains accurate and trustworthy.
For businesses, students, and educators alike, cell locking is a simple yet powerful way to add a layer of security and professionalism to any spreadsheet. Take time to plan which cells to lock, and you will save hours of troubleshooting and correction down the line.
Preparing Your Excel Sheet for Cell Locking
Successfully implementing how to locked cells in excel starts with careful preparation. Before applying protection, you need a clear plan to avoid accidental data loss or editing issues. This stage is essential for professionals and teams who rely on robust, error-free spreadsheets.
Identifying Cells to Lock and Leave Editable
The first step of how to locked cells in excel is deciding which cells require protection and which should remain editable. Typically, you want to lock calculation or formula cells while leaving input fields open for users. This approach prevents accidental overwriting of crucial data.
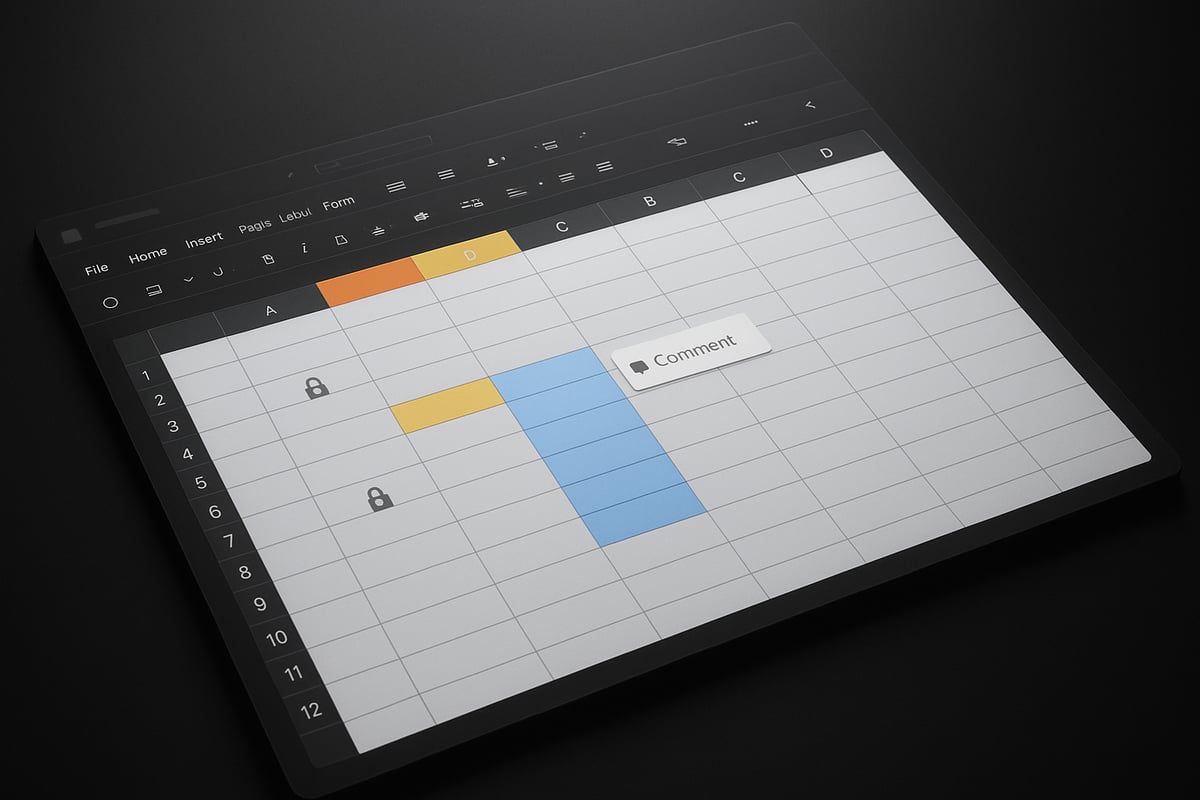
A systematic way to manage this is by using color-coding. For example, input cells might be shaded light yellow, while locked calculation cells remain white. Adding comments or notes can further guide collaborators on which areas are safe to edit.
You can review your sheet and create a quick table to plan:
| Cell Type | Action | Visual Cue |
|---|---|---|
| Inputs | Leave editable | Yellow fill |
| Formulas | Lock | No fill |
| Instructions | Leave editable | Light blue fill |
In larger templates, this method streamlines collaboration and reduces mistakes. For a comprehensive overview of steps and practical tips, see these Excel cell locking best practices.
Backing Up Your Workbook Before Protection
Before you proceed with how to locked cells in excel, save a backup of your workbook. This precaution ensures that, if anything goes wrong during the protection process, you can revert to a previous version.
In Excel 2025, create a backup by selecting File > Save As, then choosing a different file name or location. For teams, consider using cloud storage or version control tools. This practice makes it easier to track changes and recover previous versions if needed.
When collaborating, establish a naming convention for backups. For example, append the date or version number to each file. This small step can prevent significant setbacks, especially in shared environments.
Clearing Unnecessary Formatting and Ensuring Data Accuracy
Proper formatting is crucial when executing how to locked cells in excel. Excess formatting, like hidden rows, columns, or merged cells, can interfere with the protection process and lead to confusion.
Before locking cells, review your worksheet for any hidden or merged elements. Unhide all rows and columns to check for data you may have missed. Avoid merging cells in areas you plan to protect, as this can cause errors when applying protection settings.
For instance, merged cells in a budget template might prevent the worksheet from locking correctly. Always test your setup by temporarily unmerging cells and verifying that all data is visible and accurate. This diligence ensures your protection strategy is effective and user-friendly.
Step-by-Step Guide: How to Lock Cells in Excel (2025)
Learning how to locked cells in excel is essential for anyone who wants to secure data, prevent accidental edits, and maintain the integrity of critical spreadsheets. In this detailed guide, you will follow every step required to lock and protect your cells in Excel 2025, ensuring your files are safe and collaboration is efficient.
Step 1: Select and Unlock All Cells (Default State)
By default, every cell in a new Excel worksheet is set to "Locked." However, this alone doesn't protect your data. Protection is only enforced once you enable worksheet protection. For most workflows, you first need to unlock all cells, then lock only the specific cells you want protected.
To begin the process of how to locked cells in excel:
- Open your Excel 2025 worksheet.
- Press
Ctrl+Ato select all cells. - Right-click, choose "Format Cells," and navigate to the "Protection" tab.
- Uncheck the "Locked" box. Click "OK."
This action ensures no cells are currently locked, so you can selectively apply locking to only those that need protection. This step is especially important if you are preparing templates or shared documents.
Tip: Use this step as a reset before applying targeted cell protection. If you skip this, you might inadvertently lock the entire sheet instead of just the critical cells.
Step 2: Select and Lock Specific Cells
Once all cells are unlocked, it's time to decide which data you want to protect. The most common use case for how to locked cells in excel involves locking formulas, summary values, or any cell containing important information.
Follow these steps:
- Select the specific cell(s) or range(s) you want to lock.
- Hold
Ctrlto select non-adjacent cells.
- Hold
- Right-click your selection, choose "Format Cells," and go to the "Protection" tab.
- Check the "Locked" box, then click "OK."
For example, in a sales report, you might lock all formula cells while leaving input fields unlocked for data entry. This technique prevents accidental overwriting of calculations.
Pro tip: Use cell styles or background colors to visually distinguish locked cells from editable ones. Add comments to clarify which cells are protected, especially in collaborative files.
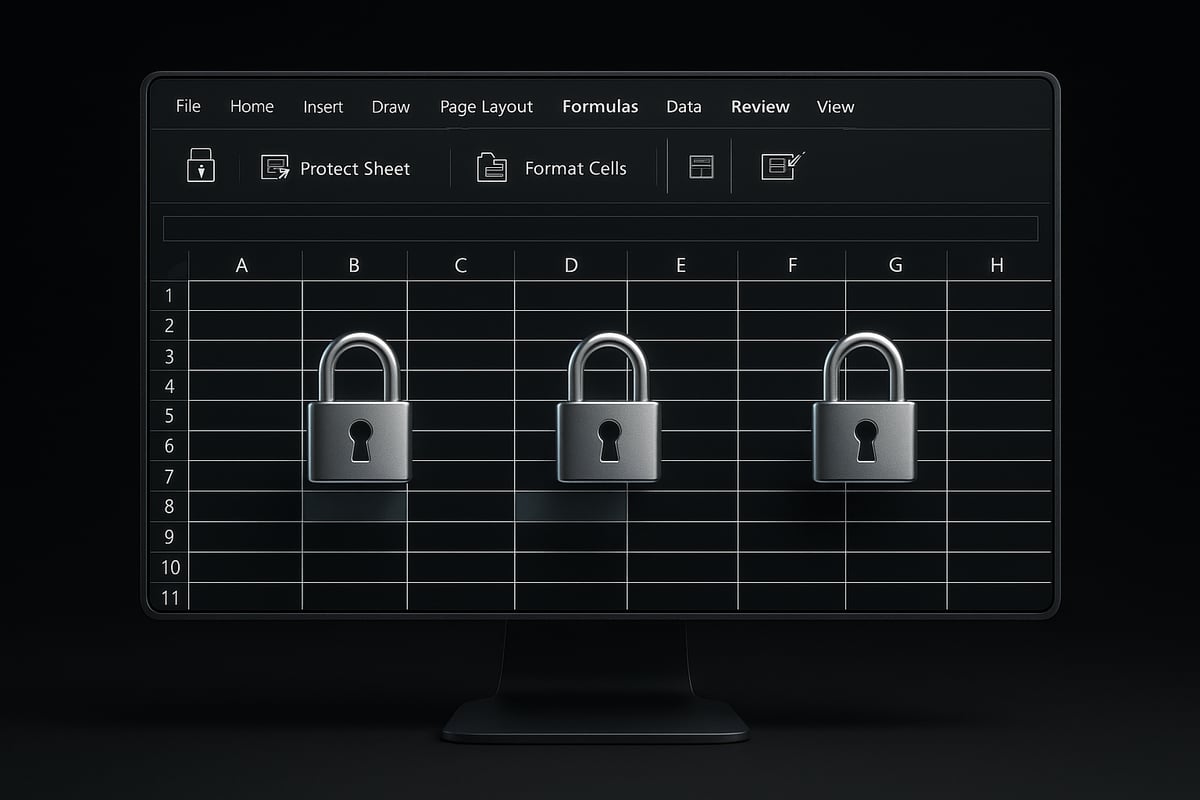
Step 3: Protect the Worksheet
With the necessary cells locked, the next step in how to locked cells in excel is to enable worksheet protection. This is where your locking settings take effect.
- Go to the "Review" tab on the Excel 2025 Ribbon.
- Click "Protect Sheet."
- You will see options to set a password. Enter a strong password if you want to restrict access, and make sure to record it securely.
- Review the available options, such as allowing users to select locked or unlocked cells, format cells, insert rows, or sort data.
| Option | Description |
|---|---|
| Select locked cells | Allow users to select but not edit locked |
| Select unlocked cells | Allow editing of unlocked cells |
| Format cells/columns/rows | Control formatting permissions |
| Insert/delete rows/columns | Enable/disable structure changes |
For more details on the latest protection options, including value tokens and enhanced security, see the Excel 2025 cell protection features.
If you want users to insert rows but not edit locked cells, check only the relevant boxes. This flexibility is key for collaborative workbooks.
Note: Password protection is optional, but highly recommended for sensitive files. Be aware that forgetting the password can make it very difficult to recover access.
Step 4: Testing Cell Locking and Worksheet Protection
After enabling worksheet protection, always test your settings to ensure the process of how to locked cells in excel was successful.
- Try editing a locked cell. You should receive a message indicating the cell or chart is protected.
- Test editing an unlocked cell to confirm it's still editable.
- Double-check merged cells, hidden rows, or columns, as these can sometimes bypass protection if not handled correctly.
Common errors include:
- Accidentally leaving important cells unlocked.
- Overlooking protection on newly added rows or columns.
- Copying and pasting cells with different protection statuses.
If you find that locked cells are still editable, review your protection settings and ensure the worksheet is actually protected. Reselect and lock the desired cells, then protect the sheet again.
Tip: Document your protection scheme so collaborators understand which cells are editable and which are secure.
Step 5: Removing or Modifying Protection
At times, you may need to change which cells are locked or update your protection settings. Knowing how to locked cells in excel also means knowing how to remove or adjust protection safely.
- To unprotect a worksheet, go to the "Review" tab and click "Unprotect Sheet."
- If you set a password, you will be prompted to enter it.
- Make your changes, such as unlocking or relocking cells via the "Format Cells" dialog.
- Reapply protection as needed, updating the password or options if required.
If you forget your password, consult official resources or professional support, as password recovery can be complex. Always keep a secure record of your protection details.
By following these steps, you ensure that your approach to how to locked cells in excel is thorough, up-to-date, and aligned with best practices for Excel 2025.
Advanced Cell Locking Techniques and Options
Unlocking the full potential of Excel’s protection features goes beyond basic cell locking. If you want to master how to locked cells in excel for advanced scenarios, explore these specialized techniques. Each approach is designed to keep your data secure, streamline collaboration, and give you more control over who can edit what in your workbooks.
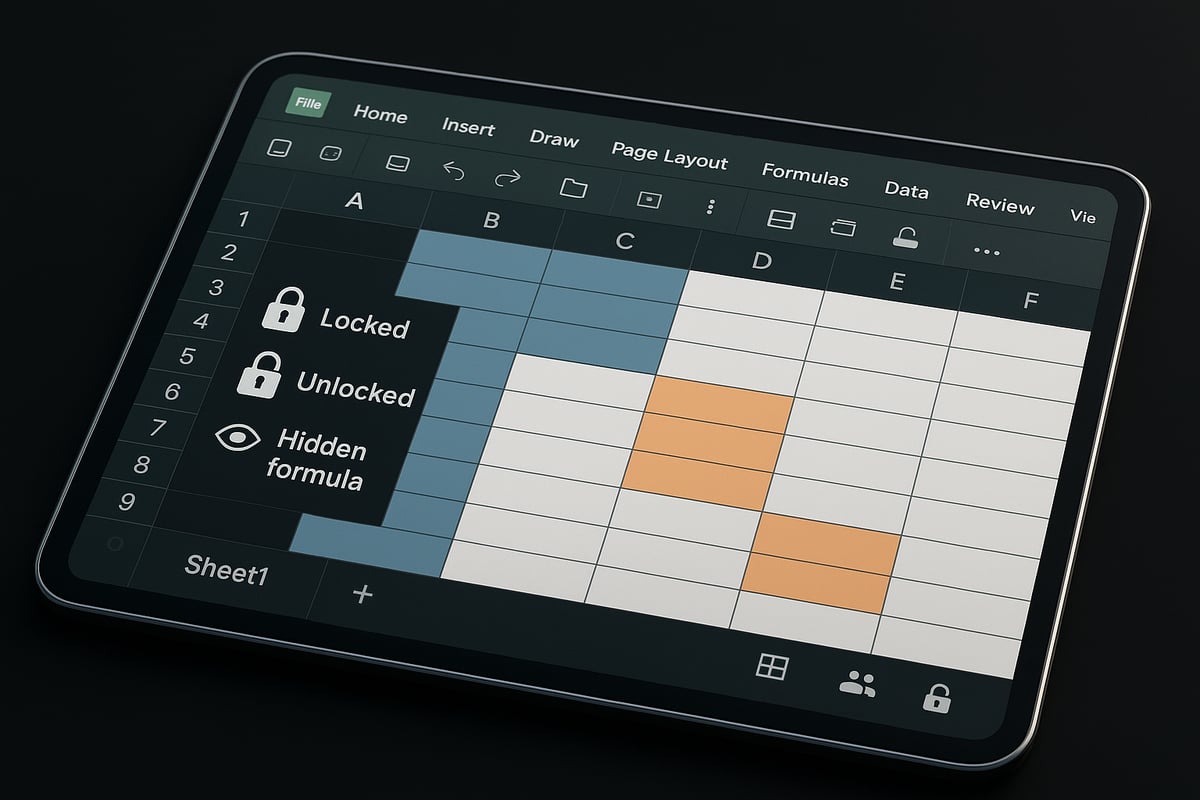
Locking Formulas Only (Hiding Formulas from View)
One advanced method for how to locked cells in excel is to secure formulas so they cannot be viewed or altered. By combining the "Locked" and "Hidden" properties in Excel 2025, you can prevent users from seeing your formulas in the formula bar, even when they select the cell.
To do this, select the formula cells, right-click, choose "Format Cells," then on the "Protection" tab, check both "Locked" and "Hidden." After you apply worksheet protection, these cells will remain locked, and their formulas will be invisible to others.
This technique is ideal for protecting proprietary calculations, such as salary formulas in HR spreadsheets or confidential business logic in financial models. Not only does it safeguard sensitive methods, but it also reduces the risk of accidental edits or formula leaks.
Allowing Partial Editing with User Permissions
When sharing workbooks, you may want different users to edit specific areas while keeping critical sections locked. Excel 2025’s "Allow Users to Edit Ranges" feature enables you to define editable ranges and assign permissions or passwords to each.
Here’s how to locked cells in excel while allowing partial editing:
- Select a range to remain editable.
- Go to the "Review" tab, click "Allow Users to Edit Ranges," and set up permissions for each group or individual.
- Protect the worksheet as usual.
This approach is perfect for departmental budgets, where only certain team members can update their sections. You can also track changes and control access without compromising the integrity of your formulas and summary data.
Locking Cells in Shared and Online Workbooks
If your team works in shared or cloud-based environments, understanding how to locked cells in excel across platforms is essential. While Excel Online and desktop versions both support cell locking, there are some differences in available features.
For example, some advanced protection options (like hiding formulas) may not be fully supported in Excel Online. Additionally, collaboration features can be limited when a sheet is protected, so plan your permissions carefully. For best results, review Excel cell protection techniques for current cross-platform guidance.
In practice, set up your protection in the desktop version, then test access in the online environment. This ensures your locked cells behave as expected, whether users are editing locally or in the cloud.
Automating Cell Locking with Conditional Formatting and VBA
For complex workflows, automating how to locked cells in excel with VBA can save time and reduce errors. You might want to automatically lock cells after data entry or based on certain conditions.
Here’s a simple code example:
Private Sub Worksheet_Change(ByVal Target As Range)
    If Not Intersect(Target, Range("B2:B10")) Is Nothing Then
        Target.Locked = True
    End If
End Sub
This macro locks cells in the specified range after any change. Pair this with worksheet protection for robust security. Remember to enable macros and inform collaborators about macro use. While automation is powerful, always test thoroughly and keep a backup, as macros can introduce compatibility or security concerns.
Troubleshooting Common Issues with Locked Cells
Accidentally leaving important data unprotected, or struggling to edit locked cells, is a frequent challenge for Excel users. Even when you know how to locked cells in excel, issues can arise that disrupt your workflow or compromise data security. Below, we address the most common problems and how to resolve them efficiently.
Why Are My Locked Cells Still Editable?
If you have set up how to locked cells in excel but find that locked cells are still editable, the most common cause is that worksheet protection is not enabled. Locking a cell alone does not prevent edits until you activate sheet protection.
Other frequent issues include:
- Accidentally unlocking cells when copying or pasting data.
- Selecting the wrong range before applying protection.
- Overlooking merged or hidden cells, which can bypass protection settings.
Double-check that you have protected the worksheet after marking cells as locked. For more detailed diagnostics, consult the Excel Troubleshooting Guide for step-by-step solutions to common protection problems.
Forgotten Passwords and Recovery Options
Forgetting a worksheet protection password is a common stumbling block, especially after implementing how to locked cells in excel. Excel’s security is designed to prevent unauthorized access, so recovering a lost password can be difficult.
Options to try:
- Double-check for any saved password hints or notes.
- Use a backup copy of your workbook if available.
- Be aware that some third-party tools claim to recover passwords, but their use may be risky or violate company policies.
Microsoft does not provide official password recovery tools. If you need to remove protection, see the Remove Password for Excel Sheets guide for safe and compliant options.
Compatibility Issues Across Excel Versions
Knowing how to locked cells in excel can be complicated by differences between versions. Excel 2016, 2019, 2021, and 2025 each have unique features and limitations regarding cell protection.
Key compatibility notes:
- Some advanced locking features are exclusive to Excel 2025.
- Cross-platform workbooks may lose protection settings when opened in older versions or Excel Online.
- Mac and Windows versions may differ in menu locations or feature availability.
Always test your protection settings in the environment where your file will be used. Keep documentation on version-specific features to prevent accidental data exposure.
Dealing with Protected Sheets in Shared Workbooks
Collaboration adds another layer of complexity to how to locked cells in excel. In shared or online workbooks, protection settings may conflict with editing permissions or cloud-based features.
Tips for smooth teamwork:
- Communicate protection rules to all collaborators.
- Use Excel 2025’s sharing and permission tools to designate editable ranges.
- Be aware that some cloud platforms might not support all protection features found in desktop Excel.
When conflicts arise, review permissions and clarify roles to maintain both security and productivity in your shared files.
Best Practices for Cell Locking and Worksheet Protection
Protecting your data in Excel requires more than just knowing how to locked cells in excel. Applying best practices ensures your protection strategy is effective, user-friendly, and adaptable as your workbooks evolve.
Planning Your Protection Strategy
A strong foundation starts with a clear plan. Before you begin, map out which areas of your worksheet need protection. Identify input fields, formulas, and sensitive data.
Consider using templates for common workflows. This approach saves time and supports consistency across projects. For more detailed steps on preventing errors before locking cells, review the article on Reduce Spreadsheet Errors in Excel.
Document your strategy so anyone who manages the file understands how to locked cells in excel for your specific use case.
Communicating Cell Locking to Collaborators
Clear communication is essential, especially in shared workbooks. Use cell color-coding or comments to show which cells are locked or editable. Add instructions within the sheet or in a dedicated tab.
When onboarding new team members, explain your cell locking system and the reasons behind it. This helps everyone understand not just how to locked cells in excel, but also why protection matters.
Consistent communication reduces confusion and prevents accidental data changes.
Regularly Reviewing and Updating Protection Settings
Best practices include scheduling regular reviews of your worksheet protection. As your data or team changes, your protection needs may shift.
Check for outdated permissions, newly added cells, or evolving formulas. Use audit trails or version control to track changes. For complex files, learn how to Audit and Debug Complex Excel Spreadsheets to ensure your locking strategy is working as intended.
This routine ensures you always know how to locked cells in excel are set up and functioning correctly.
Balancing Security and Usability
Protection should never come at the expense of productivity. Avoid over-locking, which can frustrate users and slow down workflows. Allow necessary editing access while maintaining control over sensitive data.
Regular feedback from users can help you refine your approach. Striking the right balance keeps your data safe and your team efficient.